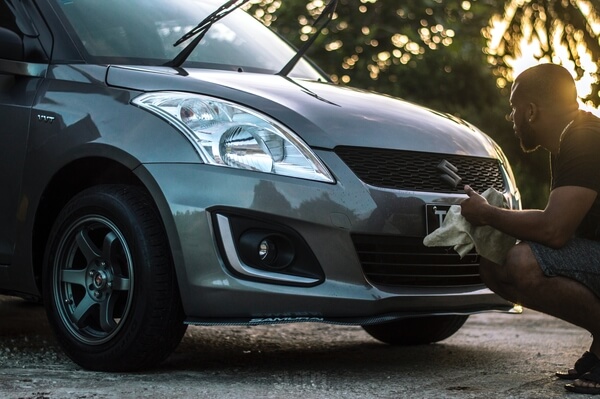
How to wash your car at home
Washing your car at home may seem like a simple task—not to mention financially savvy—but there are some things to watch out for to ensure you’re protecting your vehicle from damage caused by yourself or a changing season’s elements. We’ll take you through the process step by step to help keep your car looking and performing its best.
Preparation
Before you begin, wash your hands thoroughly and take off any jewelry you’re wearing to help prevent scratches.
Start by evaluating your car. Just how dirty is it? Does it just need a quick clean-up, or have you been driving in the mud? This will help you determine the supplies you need. Look for a dedicated car-washing product and a soft, natural sponge—they’re designed to be used on automotive paint and won’t damage your car. On that note, here are a couple points to keep in mind:
- Don’t use household cleaning products like dish soap or glass cleaner on the paint. They can strip off the protective wax or paint from your car.
- Before applying anything, be sure to read the labels. Not all cleaning products are meant to be used on every surface of your car, so make sure what you have is safe for each surface type on your vehicle.
You’ll also need three buckets—one for soapy water, one for dirty water, and a third bucket dedicated to your car’s wheels. If you don’t have access to a hose, plan ahead by filling as many buckets as you can with clean water.
Lastly, move your car out of direct sunlight if possible. The sun makes cleaning products dry and evaporate faster, which can leave streaks or other marks.
Step-by-step washing
- Wheels: The wheels are likely the dirtiest place on your car, so start with them. And because they’re also the lowest part of your car, washing them first helps you avoid splattering dirty water on painted surfaces where you’d have to clean again—or, worse, leave a dirty residue once scattered droplets dry out.
- Use the bucket of water you’ve set aside specifically for the wheels, not the clean water you’ll use for the rest of your car.
- Use a wheel brush to clean both the front of the wheels and inside the barrels.
- Be careful not to get the cleaning product on your tires, because once you start driving, the tires could spray the product up onto your paint and cause damage. If you get a little product on your tires, be sure to rinse them off with water.
- Headlights: With age, headlights can turn cloudy or take on a yellow shade, which can reduce your visibility at night. They can also make your perfectly clean car look a little dingy. Wipe down your headlights with your cleaning solution, and make sure to wipe them off with a wet rag when you’re done.
- Exterior: Once the wheels and headlights are clean, move on to the exterior of your car.
- Give the car a good rinse with water, then use your soapy water bucket to coat the exterior. Start from the top and make your way down, working quickly so the soapy water doesn’t dry on your paint.
- If you find that your water is drying quickly, try moving your car out of the sun, or rinse each section as you go.
- Once you’ve thoroughly washed your entire car, give it a final rinse from top to bottom.
- Drying: We recommend using a microfiber towel to soak up all the water. You can also use a leaf blower to make the job quick and easy. If you’re looking to get every single drop of water from your car, go ahead and pop the hood and use the leaf blower to remove water there as well.
- Windows: Once the body of your car has been cleaned, turn your attention to your windows. Use a window cleaner that’s made for car windows, and then use some elbow grease to make your windows really shine.
The finishing touches
Don’t forget to “wax on, wax off” using a car wax product and a clean microfiber towel. Wax helps prevent fading and discoloration often caused by sun damage, and also acts as a protective layer. During late fall, waxing your car can help keep it safe from falling leaves, mud, and tree sap, and the snow and slush of early winter.
As a final step to keeping your car cleaner for longer, use a spray detailer and cloth to quickly remove any remaining particles or dust. Then, hit the road and show off the results of your efforts—your newly cleaned car!
Originally Published on Dairyland Blogs On December 2, 2020


